Are you looking for a way to share your favorite mobile gaming moments with friends, record a video tutorial, or capture your best performance in a mobile app? If you own an iPhone, screen recording is easier than ever before! With just a few simple steps, you can quickly learn how to record your iOS device's screen like a pro. In this guide, we'll show you the ins and outs of how to screen record on iphone, offering step-by-step instructions and troubleshooting tips to ensure you can capture any moment with ease.
Setting up Screen Recording
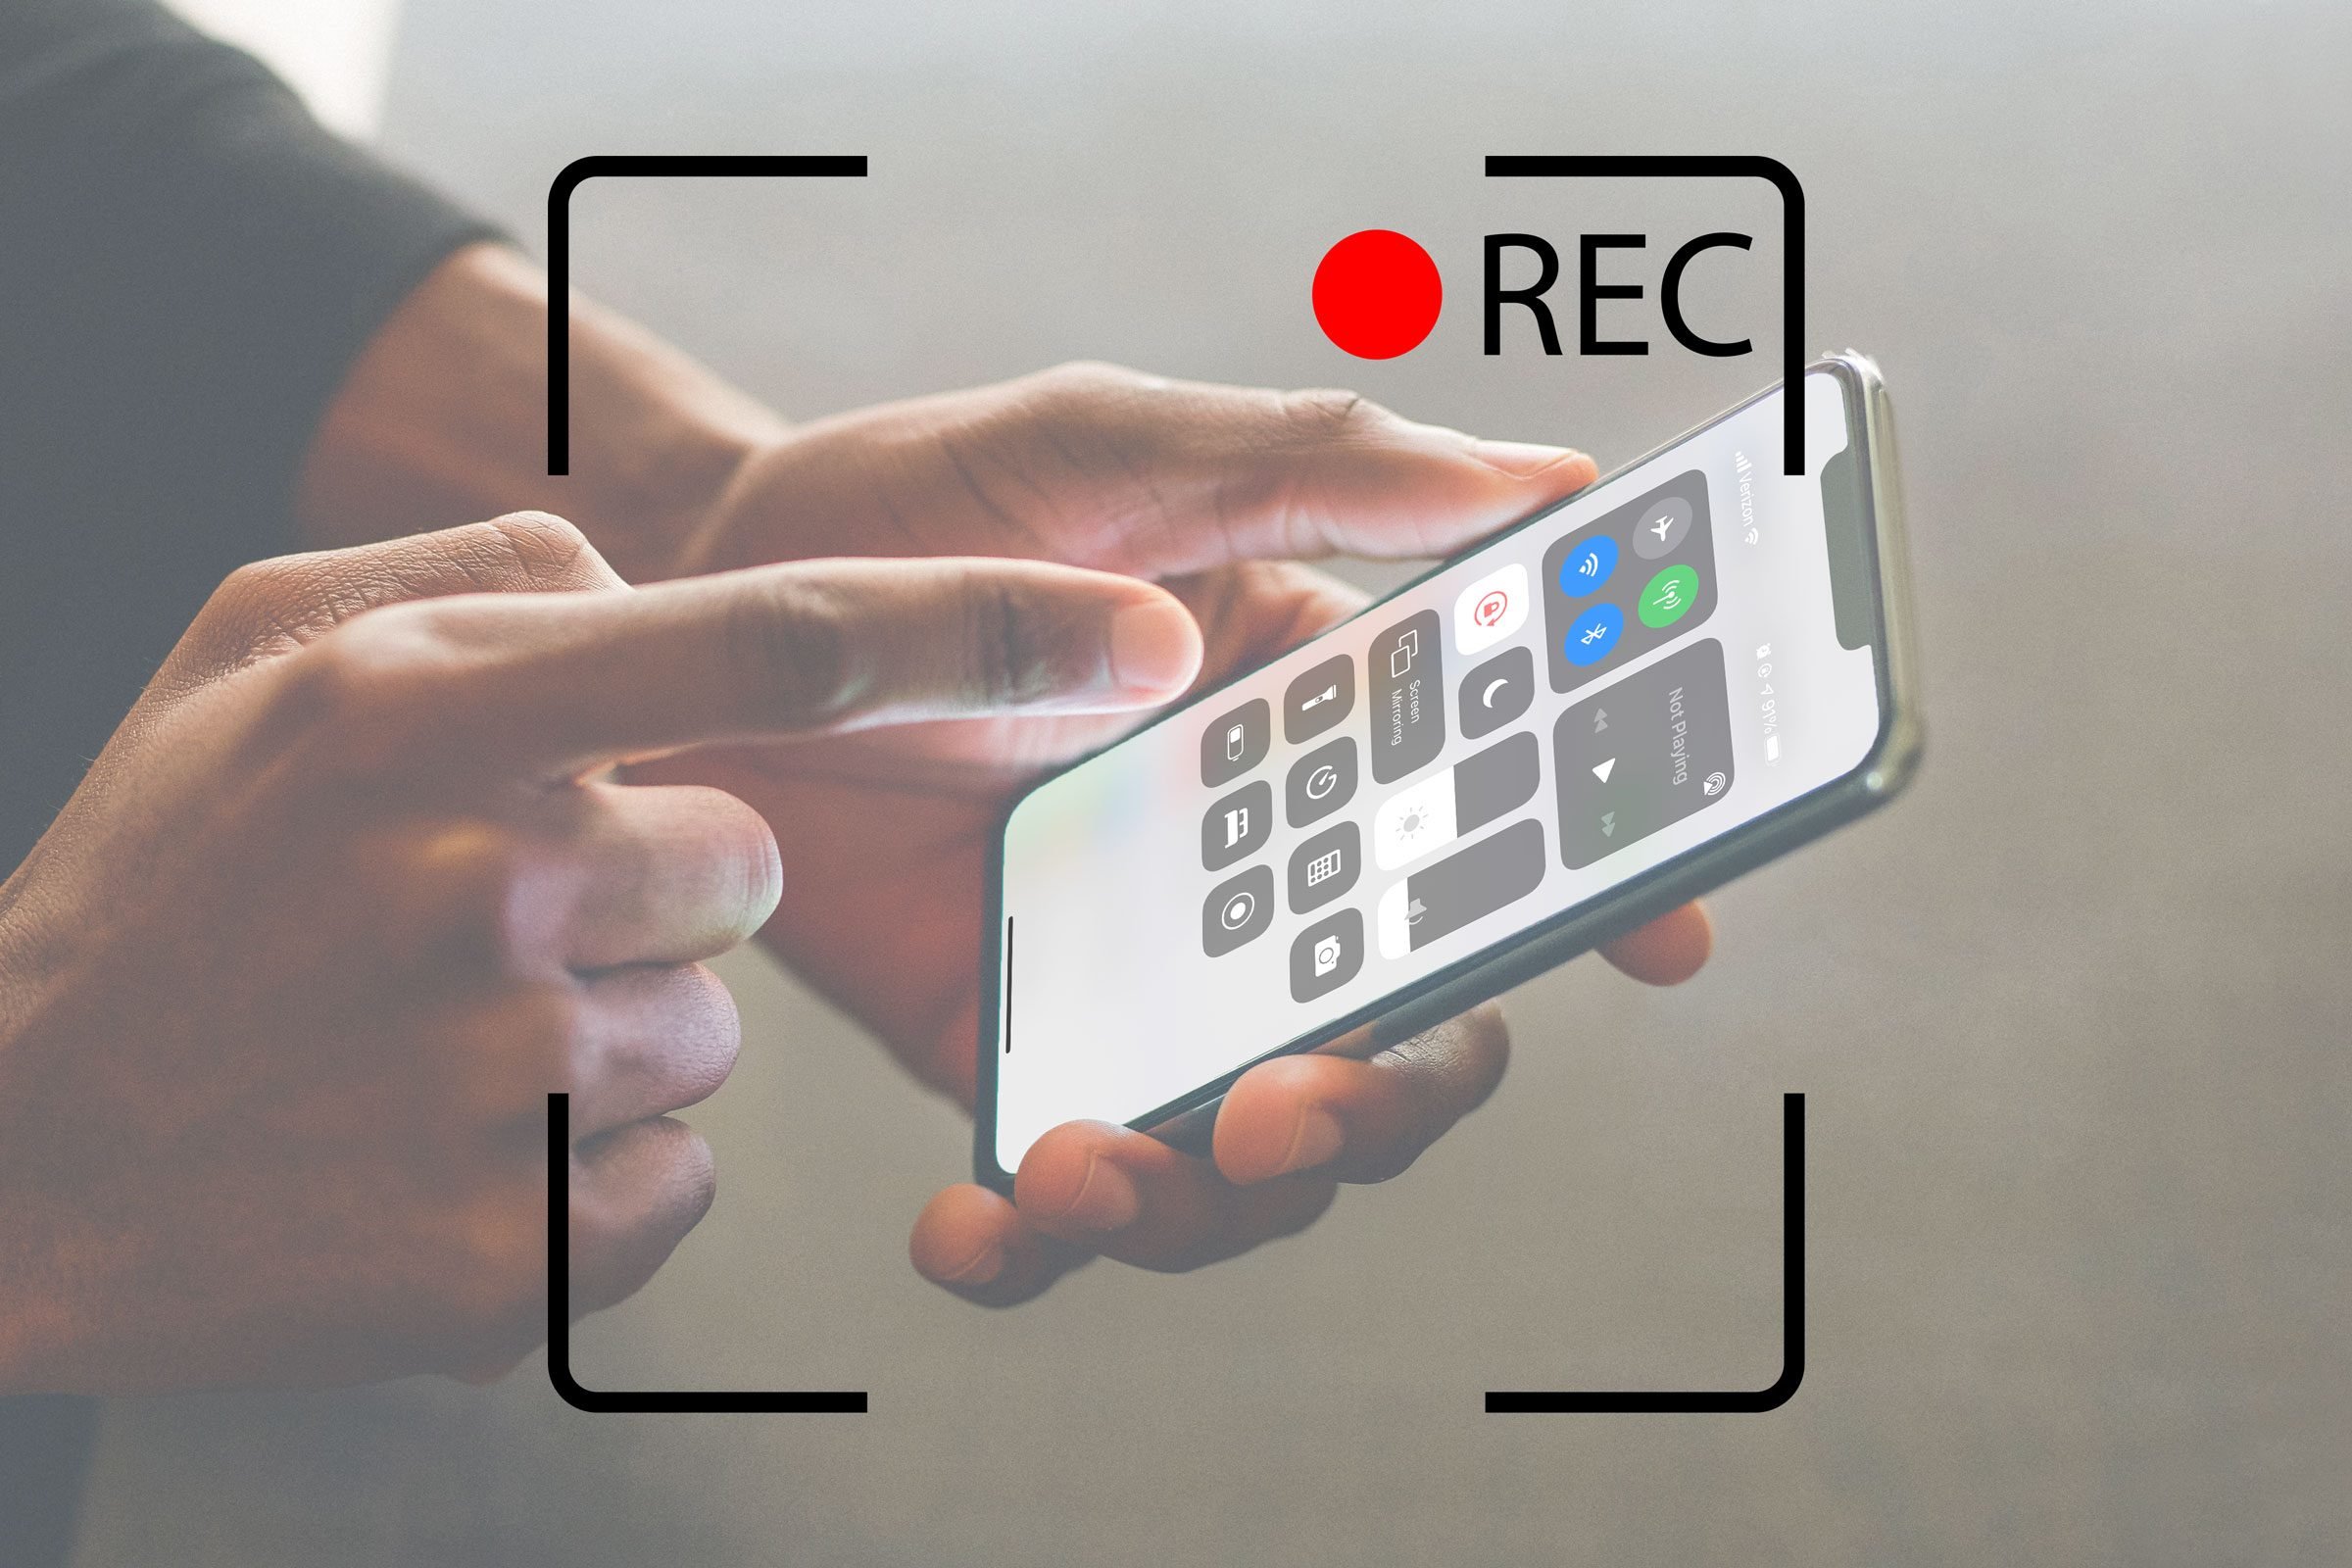
Before you can start recording your screen, you'll need to enable the feature on your iPhone. To do this, open the "Settings" app and scroll down to "Control Center." Tap on "Customize Controls" and locate the "Screen Recording" option in the "More Controls" section. Tap the green "+" button next to "Screen Recording" to add it to your Control Center. Now, you'll be able to access the screen recording function whenever you need it by swiping down from the top-right corner of your screen (if you have an iPhone X or later) or swiping up from the bottom of your screen (if you're using an iPhone 8 or earlier).
Starting and Stopping a Screen Recording
To begin a new screen recording, open the Control Center by swiping as described above. Then, tap the circular "Screen Recording" icon — it should look like a circle surrounded by an outline. A three-second countdown will appear, during which time you can either cancel the recording by tapping the icon again or close the Control Center to capture your entire screen. Once the countdown is over, your recording will begin, and a red banner will appear at the top of your screen to indicate that you're now in recording mode. To stop recording, simply tap the red banner and confirm that you want to end the session.
Adding Voiceover and Audio
If you want to include a voiceover or capture the audio playing on your device, you can do so while initiating the screen recording. Before tapping the "Screen Recording" icon in your Control Center, press and hold it instead. This will bring up a menu where you can toggle on or off the "Microphone Audio" setting. When this setting is enabled, your iPhone will record any audio that comes through its microphone, as well as any sounds played by the device itself.
Editing and Saving the Recording
Once you've stopped your screen recording, the video will be automatically saved to your "Photos" app. From there, you can watch, edit, or share the recording as you would with any other video. If you'd like to make simple edits — such as trimming the beginning or end of the recording — tap the "Edit" button while watching the video in your "Photos" app. For more advanced editing options, you can use third-party apps like iMovie or Adobe Premiere Rush.
Troubleshooting Common Issues
While screen recording on an iPhone is generally a seamless process, you might occasionally encounter issues that prevent you from capturing the perfect video. If you notice that your recordings have no sound or are missing audio from certain sources, double-check your settings to ensure the "Microphone Audio" setting is enabled. Additionally, make sure that your device's volume is turned up and not muted. If your screen recordings are blurry or pixelated, ensure your iPhone has sufficient storage space and is running the latest version of iOS — outdated software or limited storage can hinder your device's screen recording capabilities.
Conclusion:
Now that you know the ins and outs of screen recording on your iPhone, you'll be well-equipped to share your favorite app walkthroughs, game highlights, or even video messages with friends and family. Keep in mind that if you encounter any issues along the way, a few simple troubleshooting steps can often resolve them and have you back up and recording in no time. Happy recording!


 icons at the top right corner of the subsection.